You may think plaster coving is just glued to the wall, but it’s more complicated. If you want to get that perfect finish or measure those challenging corners, there are little-known tricks that can really help.
This blog will show you six tricks that will make the installation of your plaster coving look better, smarter, and smoother.
1. Surface Prep Is More Important Than You Think
Dust, grease, or peeling paint can make it difficult for adhesive to adhere to surfaces. This is a section that many people skip, and then they wonder why the ceiling is falling. Smoothness is required on the surface.
To reduce the shine of paint, sandpaper might be utilized. Wipe it down with a damp cloth to remove any dust that may be present. When you add adhesive, you should wait until everything is dry. Time is required for preparation, but it is time well spent in the end.
2. Not All Coving Adhesives Are the Same
Certain adhesives dry either too quickly or too slowly. The others are only effective with particular objects. If you pick the wrong one, it will be more difficult to complete the task.
To ensure that the glue is appropriate for the type of covering, it is important to read the packaging. Although it adheres well, a good adhesive allows you to make adjustments if you feel the need to. Using the appropriate glue ensures that things remain in a nice, clean, and sturdy state.
3. Angle Cuts Are Trickier Than They Look
It sounds easy to cut coving at a right angle, but corners are very hard to understand. There are different ways to cut inside and outside edges.
Work on your skills with scrap wood and a miter box. Make clear marks on each piece before you cut. Edges are smoother when tools are sharp. When you plan ahead of time, you save time and avoid problems.
4. Dry Fitting Saves You Time and Stress
Putting each piece together first helps you find problems quickly. If the wall isn’t level or the corners don’t meet, dry fitting will show you. You can fill in the blanks before it’s set.
Put the coving on the floor in the right direction. Make sure it fits well and is the right shape before you lift it to the ceiling.
5. Seamless Joints Take Skill and Patience
If you’re in a hurry, the joints between the pieces might look bad. When you paint, even small holes show up. It takes steady hands and the right filler to fill those holes.
Smoothly put on filler with a small knife. Once it’s dry, sand the area to get rid of the joint. Proceed cautiously, as the joints can significantly influence the overall appearance.
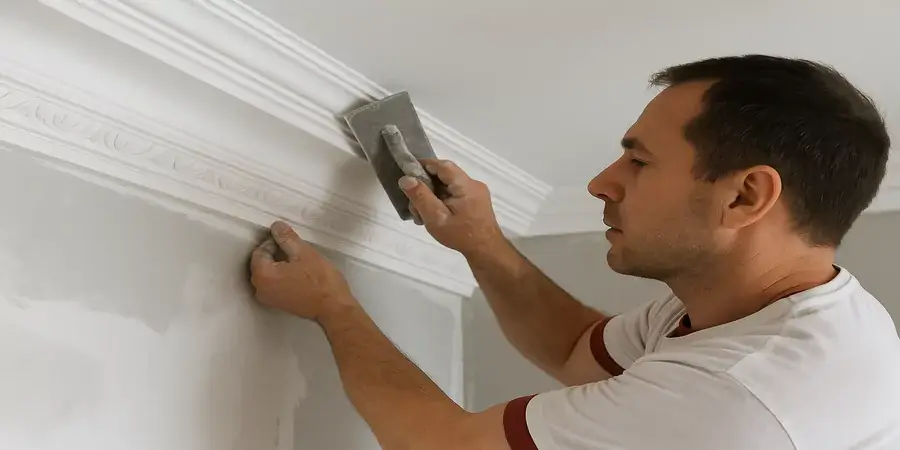
6. Professional-Looking Results Are Possible for DIYers
Some people think that only professionals can do covering, but many people do it themselves and get great results. It helps to plan ahead, be patient, and show care. Do each step carefully and check your work twice.
When you need to, take a break. Get someone to help you lift the bigger pieces. With the right tools and determination, anyone can make coving look good.
Make a Difference for Your Home
Putting up plaster coving might look easy, but if you know a few professional tricks, the results will be totally different.
London Coving has many options and will help you make the right choice. You can make a beautiful and confident change in your home if you have the right tools and knowledge.