Rain makes a video feel more real. It adds emotion and depth. Filmmakers use rain to show drama, sadness, or excitement. But filming in real rain can be tough, and green screens help, but they take time and effort.
CapCut Desktop Video Editor lets you add realistic rain effects quickly, adjusting speed, size, and direction to fit your scene.
CapCut isn’t fully free. Some advanced features need payment. But it still offers great tools for editing.
This article will show you how to add a realistic rain effect on CapCut PC. You’ll learn why rain effects are useful, how to add them, and how to make them look real. Follow these steps to create amazing videos with CapCut Desktop Video Editor.
Why Add a Rain Effect to Videos?
Rain can change the mood of a scene. It can make a moment feel sad, calm, or even intense. Filmmakers and content creators use rain to make their stories feel deeper. A simple shot can feel stronger with rain in the background. It makes scenes look more real.
Rain effects work in many types of videos. In movies, rain can make a scene more dramatic. In music videos, it adds emotion. In vlogs, it creates a cozy or moody feel. But filming in real rain is tricky. It can damage your camera, and it depends on the weather. That’s why many editors choose digital rain effects.
One way to add rain is by using a green screen. But not everyone has one. Green screens take time to set up and edit. A better choice is CapCut PC, a great video editor for PC. It lets you add rain without needing any extra equipment.
You can adjust the rain’s speed, size, and direction to make it look real. With simple tools, anyone can add rain to a video
Creating a Realistic Rain Effect Without a Green Screen in CapCut Desktop
You don’t need a green screen to add rain to your videos. CapCut Desktop Video Editor makes it easy to create a natural rain effect using simple tools.
Start by adding a rain overlay to your video. You can find free rain overlays online or use the ones available in CapCut. Place the overlay on your video and resize it to fit.
To make the rain look real, use blend modes. This helps the rain mix with the background. You can also adjust the opacity to control how strong the effect looks. If the rain looks too sharp, add motion blur to soften it and make it look more natural.
Lighting is also important. If the scene is dark, bright rain won’t match. Adjust the brightness and contrast to make the rain fit better with the background.
If you want to add subtitles, try CapCut’s caption generator. This makes your video more engaging and helps viewers understand the story.
Some CapCut features require payment, but you can still create a great rain effect with the free tools. Play around with different settings to see what works best for your video.
Steps to Add a Rain Effect in CapCut PC
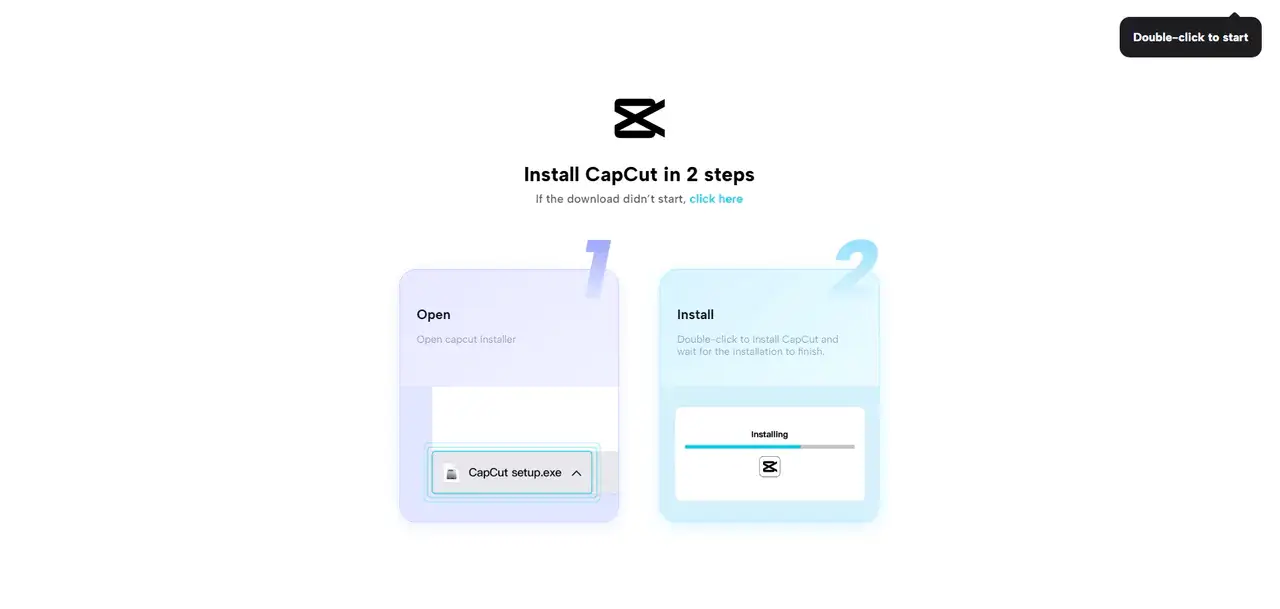
Step 1: Install and Open CapCut Desktop
First, you need to download CapCut Desktop Video Editor from its official website. This ensures you get the latest version without issues.
Once the download is complete, open the file and follow the installation steps. The process is simple. You just need to agree to the terms and click “Install.” After installation, launch the software.
You will be asked to sign up or log in. If you don’t have an account, create one using your email. This will help you access all the features.
Keep in mind that CapCut is not fully free. Some advanced tools require payment. You can still use many features at no cost, but premium effects and tools may need a subscription.
Once you have installed and opened CapCut, you are ready to start editing. Now, let’s move on to adding your video and the rain overlay.
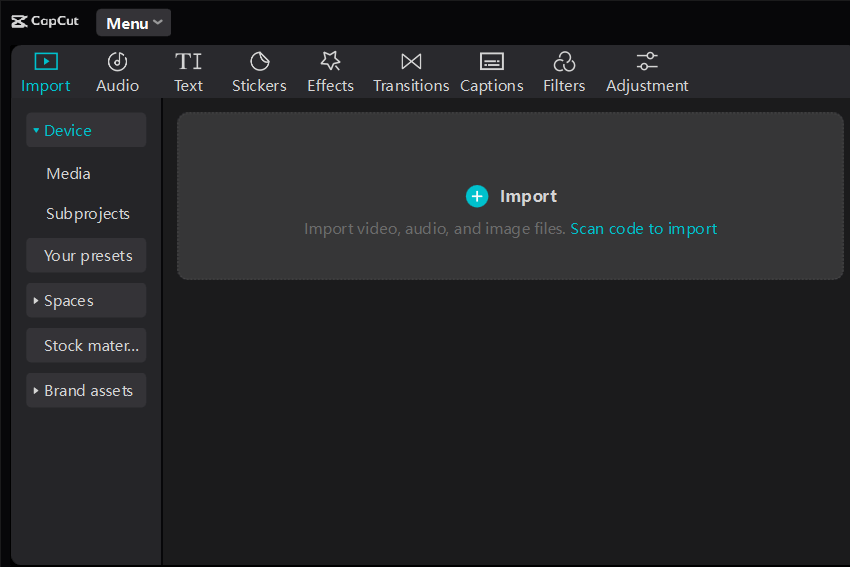
Step 2: Import Your Video and Rain Overlay
Now that CapCut is open, import your video by clicking on the “Import” button. Select the file from your computer and drag it to the timeline.
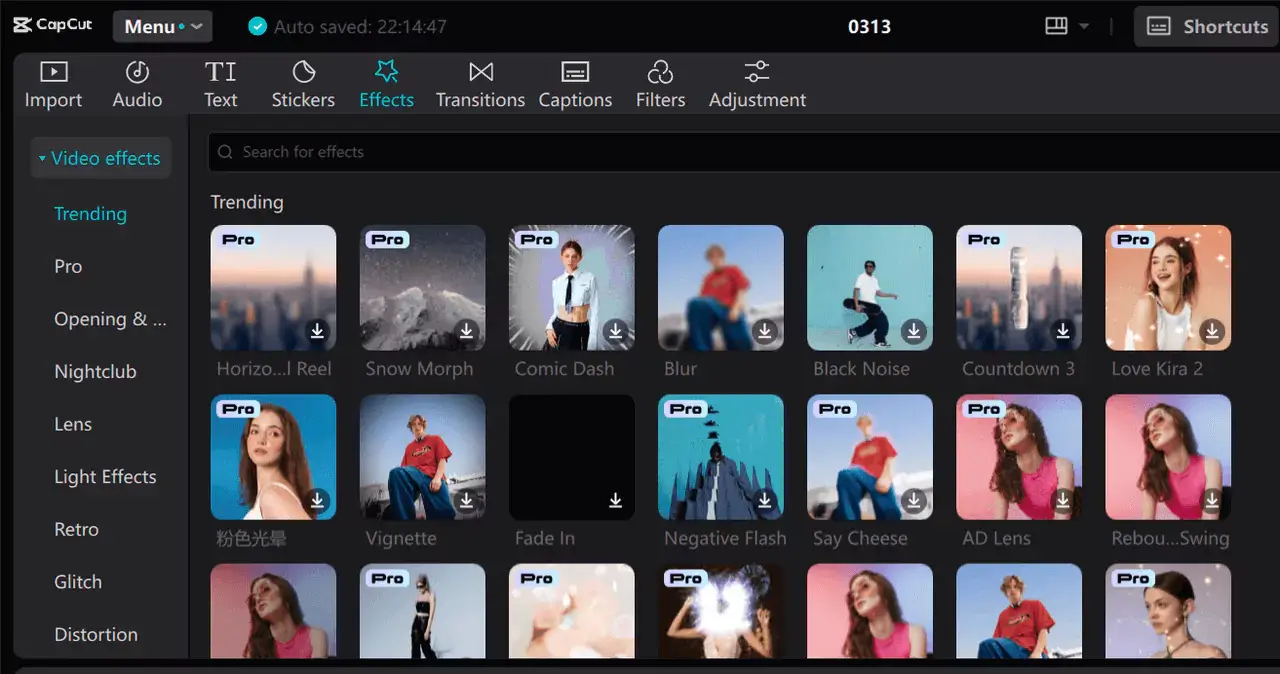
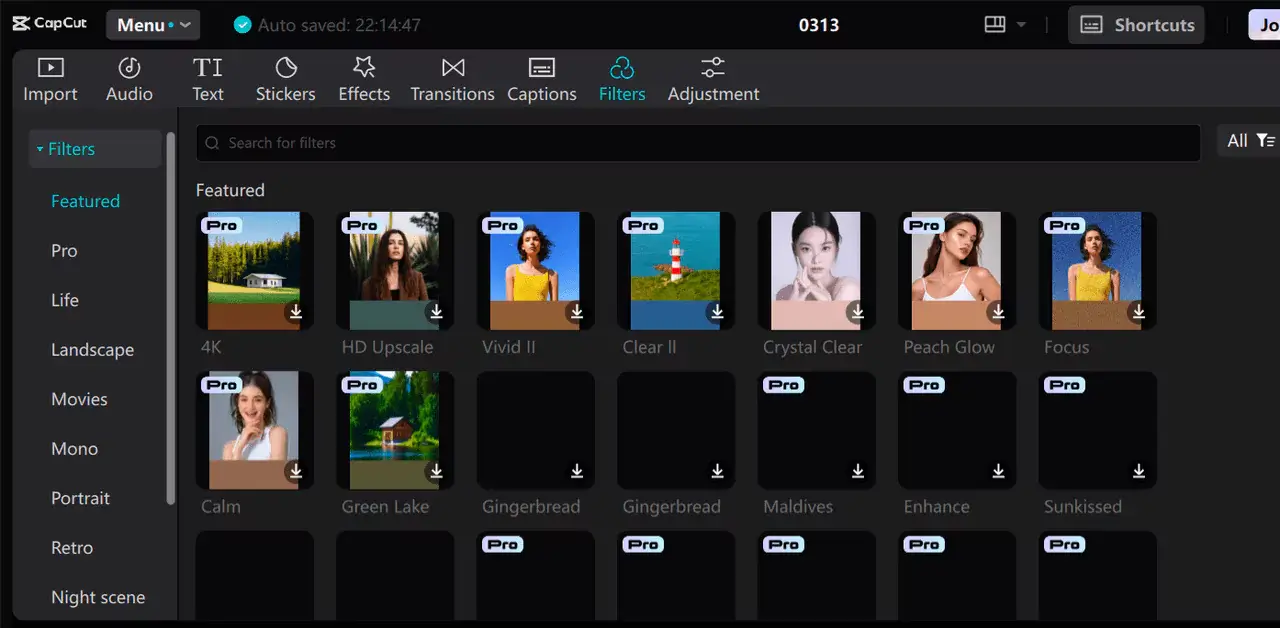
Next, you need a rain overlay. You can find rain overlays online, in stock footage libraries, or within CapCut’s built-in effects. If you use CapCut’s effects, note that some may be premium.
Another option is using a free AI video generator to create a realistic rain effect before bringing it into CapCut. This can help add natural movement and depth to your scene.
Once you have your rain overlay, drag it to the timeline above your main video. Adjust its length so that it covers the full scene.
With your video and rain effects in place, the next step is to fine-tune the overlay for a more realistic look.
Step 3: Adjust the Rain Effect
To make the rain effect look real, start by resizing and positioning the overlay. Drag the corners to scale it to fit your video frame.
Next, adjust the opacity so the rain blends smoothly with the background. If the rain looks too sharp or fake, reduce the opacity slightly.
Use the speed setting to control how fast the rain falls. If you want a heavy downpour, increase the speed. If you want a drizzle, slow it down.
For a more natural effect, apply blending modes. Try setting the blend mode to “Screen” or “Overlay.” This removes any unwanted black background from the rain overlay.
Once the rain looks natural, move on to the next step, enhancing realism with filters and motion blur.
Step 4: Enhance Realism with Filters and Motion Blur
To make the rain look even better, apply motion blur. This makes the raindrops look softer and more natural as they fall.
You can also use filters to adjust the color tone of your video. A cool, bluish filter can give a rainy, overcast look. Avoid warm tones, as they may clash with the rain effect.
If your scene has puddles or wet streets, increase contrast slightly to make reflections pop. This adds depth to the effect.
For more realism, add thunder sound effects or background noise, like distant raindrops hitting a roof. This makes the scene feel more immersive.
Once you have adjusted the effects, your rain effect is almost complete. Now, it’s time to export and share your video.
Step 5: Export and Share the Final Video
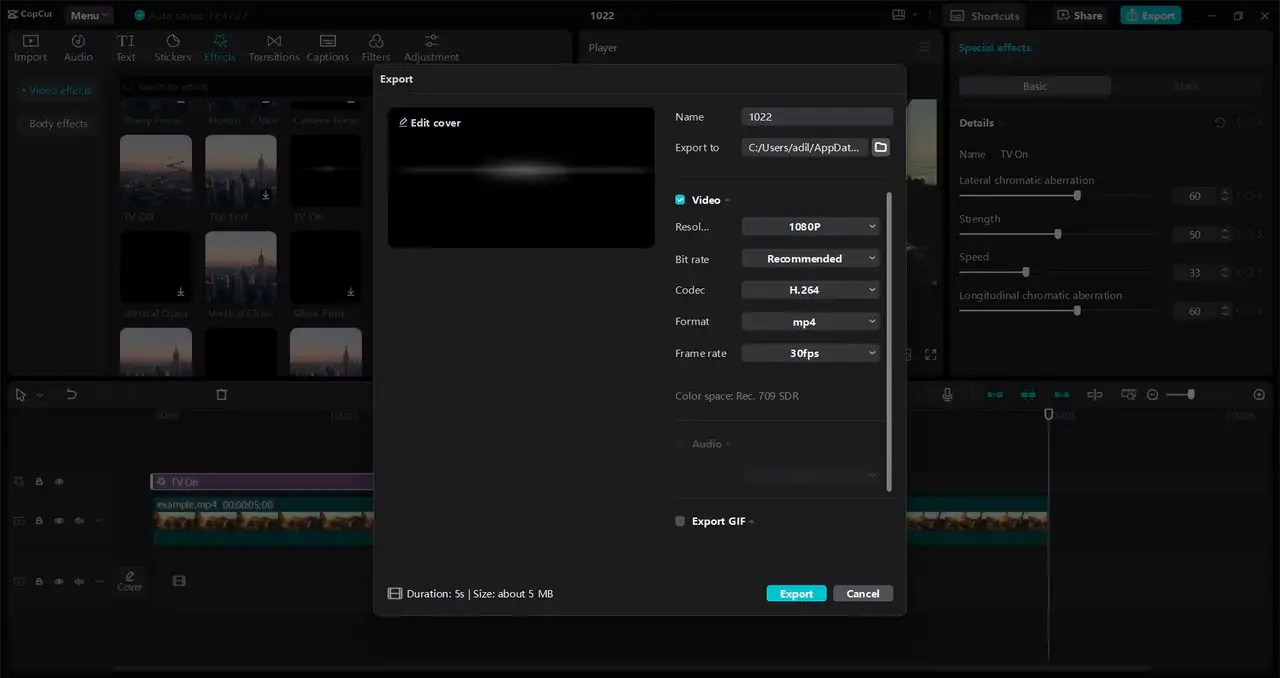
Before exporting, preview your video to check how the rain effect looks. If needed, go back and adjust the settings.
When you’re happy with the results, click “Export”. Pick the appropriate resolution and frame for your video. For high quality, go with 1080p or 4K.
Once the export is done, you can share your video on YouTube, Instagram, or any other platform. A well-made rain effect can make your video stand out.
Now that you’ve learned the steps, try adding rain to your next project and see the difference it makes!
Conclusion
CapCut Desktop Video Editor makes it easy to add realistic rain effects without a green screen. You can adjust the settings to make the rain look natural, adding a dramatic touch to your videos.
While CapCut offers many features for free, some advanced options require payment. Don’t be afraid to try different rain settings, overlays, and effects to get the best look.
Experiment with your edits to make your videos stand out. CapCut PC is a great tool for anyone wanting to create professional videos with ease, so give it a try today.


")